
Recipe Science and Culinary Logs
🧪 The Science of the Crinkly-Top, Fudgy Brownie
Achieving the perfect brownie is a delicate balance of fat, sugar, and protein. Most home cooks struggle with two disappointments: brownies that turn out cake-like and dry, or brownies that lack that coveted glossy, paper-thin crinkly top crust. To resolve both, we focus on two core pieces of baking science. First, **the crinkly top crust (meringue formation)**: beating whole eggs with granulated and brown sugar vigorously for a full 4 minutes dissolves the sugars completely and suspends air within the eggs. In the oven, the dissolved sugar reacts with the egg white proteins, rising to the surface to form a microscopic layer of meringue. As it bakes, this layer dries out into a glossy, shattering-thin paper crust. Second, **maximum fudge texture**: cakey brownies rely on chemical leaveners like baking powder or baking soda. By omitting leaveners entirely and maintaining a very high fat-to-flour ratio (using real butter and melted 60% cacao dark chocolate instead of just cocoa powder), the starches merely bind the lipids together. The result is a brownie that bakes into a dense, moist, intensely rich, and gooey center that melts in your mouth.
📝 From the Test Kitchen: Our Testing Logs
We baked over a dozen pans of brownies to perfect the texture and crust. Here are our kitchen testing logs:
- Trial 1 (Spongy & Cakey): We added 1 teaspoon of baking powder and used 1 cup of flour. Result: The brownies rose high and dry, tasting like a standard chocolate cake. There was no fudgy chewiness and the top crust was dull and matte.
- Trial 2 (Greasy & Flat): We used vegetable oil instead of butter and did not whip the eggs and sugar, simply whisking them together for 10 seconds. Result: The sugar did not dissolve, and the fats separated, pooling at the edges of the pan and leaving a heavy, dense, greasy slab with no crinkly crust.
- Trial 3 (Absolute Perfection): We combined melted butter and chopped bittersweet chocolate, whipped the eggs and sugars for a full 4 minutes using an electric hand mixer until pale yellow and thick, and gently folded in Dutch-process cocoa powder and a minimal 1/2 cup of flour. Result: An absolutely gorgeous, glossy, paper-cracked crinkly top that shatters under the fork, leading into an incredibly dense, fudgy, moist, and gooey chocolate center. Perfection achieved.
🍳 Kitchen Equipment Checklist
- 8x8 Inch Square Baking Pan: A metal baking pan conducts heat quickly and evenly, ensuring sharp, crisp edges. Avoid glass or ceramic pans, which trap heat and cause the center to remain raw while the edges over-bake.
- Electric Hand Mixer: The absolute key to whipping the eggs and sugar for a full 4 minutes to achieve the required ribbon stage and dissolve the sugars. Doing this by hand is exhausting and rarely achieves the necessary aeration.
- Parchment Paper: Leave a 2-inch overhang on the sides of the pan. This acts as a sling, allowing you to lift the cooled brownies out of the pan cleanly for neat, professional square cuts.
⚠️ Troubleshooting & Playbook
Over-baking Trap: Brownies continue to cook and set as they cool! If you bake them until a toothpick comes out completely clean, they will cool into a dry, cakey texture. You must pull them when the toothpick has a few moist, sticky crumbs clinging to it.
Clean Cutting Secret: Never cut hot brownies! They will smear and turn into a messy pile. Let them cool completely to room temperature, then chill them in the refrigerator for 30 minutes. Use a large chef's knife dipped in hot water and wiped dry between every single cut to get sharp, bakery-perfect square edges.
Our Step-By-Step Cooking Guide
Follow these meticulously documented, kitchen-tested instructions to secure perfect results on your first attempt:
-
Step 1
Preheat your oven to 350°F (177°C). Line an 8x8 inch square metal baking pan with parchment paper, leaving a 2-inch overhang on two sides to act as a sling. In a heatproof bowl set over a pot of gently simmering water (or in the microwave in 30-second bursts), melt the unsalted butter and chopped bittersweet chocolate together. Whisk until completely smooth, glossy, and uniform; set aside to cool slightly.
-
Step 2
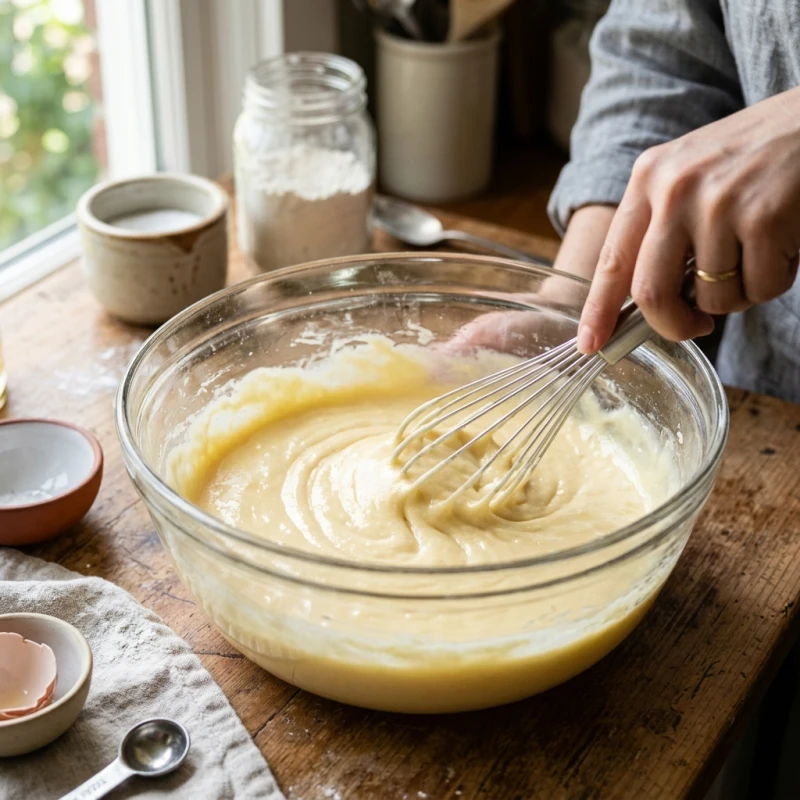
In a large bowl, combine the granulated sugar, light brown sugar, and room-temperature eggs. Using an electric hand mixer on medium-high speed, beat the mixture vigorously for a full 4 minutes until it becomes pale yellow, thick, and falls back in ribbons when the beaters are lifted. This step dissolves the sugar completely and is the absolute secret to forming that coveted shiny, crinkly meringue top crust. Whisk in the vanilla extract and the cooled melted chocolate-butter mixture.
-
Step 3
Sift the flour, unsweetened cocoa powder, fine sea salt, and espresso powder (if using) directly over the wet ingredients. Using a flexible silicone spatula, fold the dry ingredients in gently using a J-motion just until the last dry streaks disappear — do not over-mix. Fold in the chocolate chips in the final 3 strokes. Pour the thick, luxurious batter into the prepared pan, smoothing the top. Bake for 20 to 22 minutes until the edges are set but the center remains slightly soft (a toothpick inserted should come out with a few moist, sticky crumbs). Cool completely before slicing.


Oh my goodness, these brownies are pure chocolate bliss! I whipped the eggs and sugar for exactly 4 minutes using my hand mixer, and the crinkly tissue-paper top crust turned out absolutely flawless, just like a high-end bakery! The center was incredibly gooey and fudgy. I will never buy a boxed mix again!